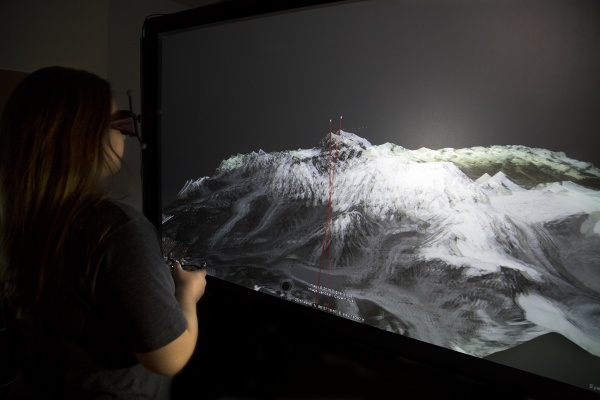
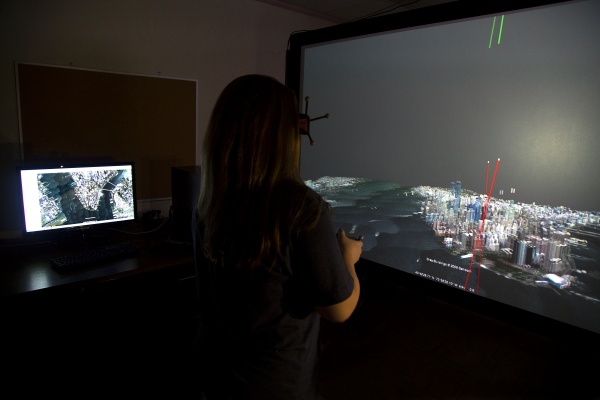
Visualization
From Montana Tech High Performance Computing
Contents
Windows Immersive 3D Visualization System
Visualization Projector for Viz Wall
The 3D stereo projection must be enabled each time the projector is started. Use the Menu button on the remote to access the Main tab, select the 3D Control to turn the stereo projection on. Windows uses the LR mode, while Linux use the other option.
Conduit
Google Earth and ArcScene can be projected onto the Viz Wall in stereo through the Mechdyne Conduit software package. To start up Conduit with tracking:
- Turn on the 3D stereo projector (see above)
- Start DTrack(ART folder in start menu->All Programs)
- Select Other Controller in the DTrack window and do a scan
- Double click on the controller that shows up to connect to it
- Start tracking in DTrack
- Start trackd 5.7 (status) - Mechdyne folder
- Go to http://mtmus-105-01:8080/ in browser
Google Earth
Google Earth must be configured correctly before it will work with Conduit.
- Graphics Mode - Under the Tools menu, choose Options... Click on the 3D View tab - make sure the Graphics Mode is set to OpenGL.
- Layer Settings - under the View menu, disable Atmosphere.
- Layers Pane - disable the Borders and Labels. Under the 3D Buildings group disable the Trees layer.
VMD
VMD is installed on both the Linux system and windows system. Tracking is currently work with VMD on the Linux system, but the controller is not.
VMD Remote App
The VMD remote app work on the Windows system downstairs. First install the VMD Remote App on your phone.[1]
- Connect through the NAO Wireless network.
- Start VMD on the computer
- Turn on stereo by Display -> Stereo -> quad buffered
- Turn on remote control by Extensions -> Visualization-> Remote control
- Set port # to 6000 and Mode to move
Linux IQ Station - highq
Vrui
- Type VRDeviceDaemon in the Terminal. This is necessary for tracking to work.
- Start DTrack - cd /opt/DTrack2_v2.9.1 ./DTrack2
- Press Start in DTrack to begin outputting data
- The example programs of Vrui can be executed by simply typing their name.
- Example - ShowEarthModel will display the earth
- Note - It does not matter which screen(monitor or tv) you have the Terminal on.
- Vrui is configured to display applications on the tv by default.
LidarViewer
The process for running LidarViewer is similar to Vrui. The main difference is that you must specify a path to Lidar data. For example:
- LidarViewer /opt/LidarViewer-2.11/data/JennyLake.LiDAR
VRDeviceDaemon and DTrack are used the same way as with Vrui.
LidarPreprocessor
LidarPreprocessor –np <number of points> -ooc <memory cache size> -o <path/to/output file> <input file type> <path/to/input files> Number of points and memory cache size are optional -np <number of points> – specifies the maximum number of LiDAR points to store in each octree node. Should be a power of two; 4096 is the recommended number to use. -ooc <memory cache size> – specifies the amount of physical memory (im Mb) to use during the operations. This should be set to half the computer's physical memory (RAM). If you do not specify -ooc the default cache size is 512 Mb, on the assumption that you have 1 GB of RAM. -header <number of header lines> – specify the number of header lines your text file has. -o <path/to/output file> – specifies the name of the generated .lidar file. The preprocessor will create a directory of that name and create 'index' and 'points' files inside that directory. Specify and extension of '.lidar'. Example: LidarPreprocessor -o Test.LIDAR ~/Documents/myData.laz
LidarPreprocessor has additional options, which may be found here: :http://wiki.cse.ucdavis.edu/keckcaves:lidarmanual#lidarpreprocessor
VMD
VMD is installed and working with tracking.
Galleries
Software Installation notes
Vrui
Start by running these commands to install prerequisites yum install zlib-devel mesa-libGL-devel mesa-libGLU-devel yum install libusb1-devel libpng-devel libjpeg-devel libtiff-devel alsa-lib-devel libv4l-devel
yum install libdc1394-devel speex-devel libogg-devel libtheora-devel bluez-libs-devel openal-soft-devel
Download $ cd /opt $ mkdir src $ cd src $ wget http://idav.ucdavis.edu/~okreylos/ResDev/Vrui/Vrui-Current.tar.gz $ tar xfz Vrui-Current.tar.gz Building the source $ cd /opt/src $ ls Vrui-<release>-<build> $ cd Vrui-<release>-<build>
Replace Vrui-<release>-<build> with the actual name of the Vrui base directory as printed by ls, e.g., Vrui-2.6-001. Then build Vrui by running $ make
in the already open terminal window. This will take a few minutes, depending on the speed of your computer. The build system will display its progress in the terminal; if everything worked well, the last line will say "Creating pkg-config meta data file..." Installation Open the makefile in an editor and change the install directory to /opt/Vrui, then run $ make install
in the same terminal window as before. This will create a new directory "Vrui-<release>" (e.g., "Vrui-2.6") in the directory, and install inside it all files required to build and run Vrui applications. To check the installation, run $ ls -1 ~/Vrui-<release>/bin AlignTrackingMarkers DeviceTest MeasureEnvironment PrintInputDeviceDataFile ScreenCalibrator VRDeviceDaemon XBackground
LidarViewer
Install Vrui first because it is required Download LidarViewer then cd LidarViewer<version> make
VMD
Installation incomplete


